Overview
This blog explores essential layering techniques in Procreate for fashion illustration, detailing the importance of layers, tips for efficiency, and advanced methods like adjustment layers and clipping masks. It emphasizes how to enhance illustrations through organization, texture application, and utilizing different layer modes, ultimately aiming to elevate artistic skills and creativity in digital fashion design.
Frequently Asked Questions
1. What are layers in Procreate and why are they important for digital art?
2. How can I enhance my fashion illustrations using layering techniques?
3. What are some tips for organizing layers in Procreate?
4. What are adjustment layers and how can they be useful in Procreate?
5. How can I create textured fabrics in my fashion illustrations using Procreate?
Welcome to the vibrant world of Procreate, where digital artistry meets innovative fashion design. Whether you're an aspiring fashion designer or a seasoned digital artist, mastering layering techniques is crucial for creating stunning illustrations that truly stand out. In this article, we'll delve deep into the myriad of layering techniques in Procreate and how they can elevate your work. So, grab your stylus, and let’s get started!
Understanding Layers in Procreate
Layers are the backbone of digital art, serving as transparent sheets that stack upon one another. This allows artists to work on different aspects of their illustrations independently without disturbing other elements. To navigate Procreate effectively, it's essential to understand how to manage layers efficiently. Below are some key points:
- Layer Types: Procreate supports multiple layer types, including raster layers, adjustments, and reference layers.
- Layer Opacity: Adjusting layer opacity can create depth and enhance your designs.
- Layer Blending Modes: Different blending modes can transform the interaction between layers, giving your artwork unique effects.
Create Dynamic Fashion Sketches with Layers
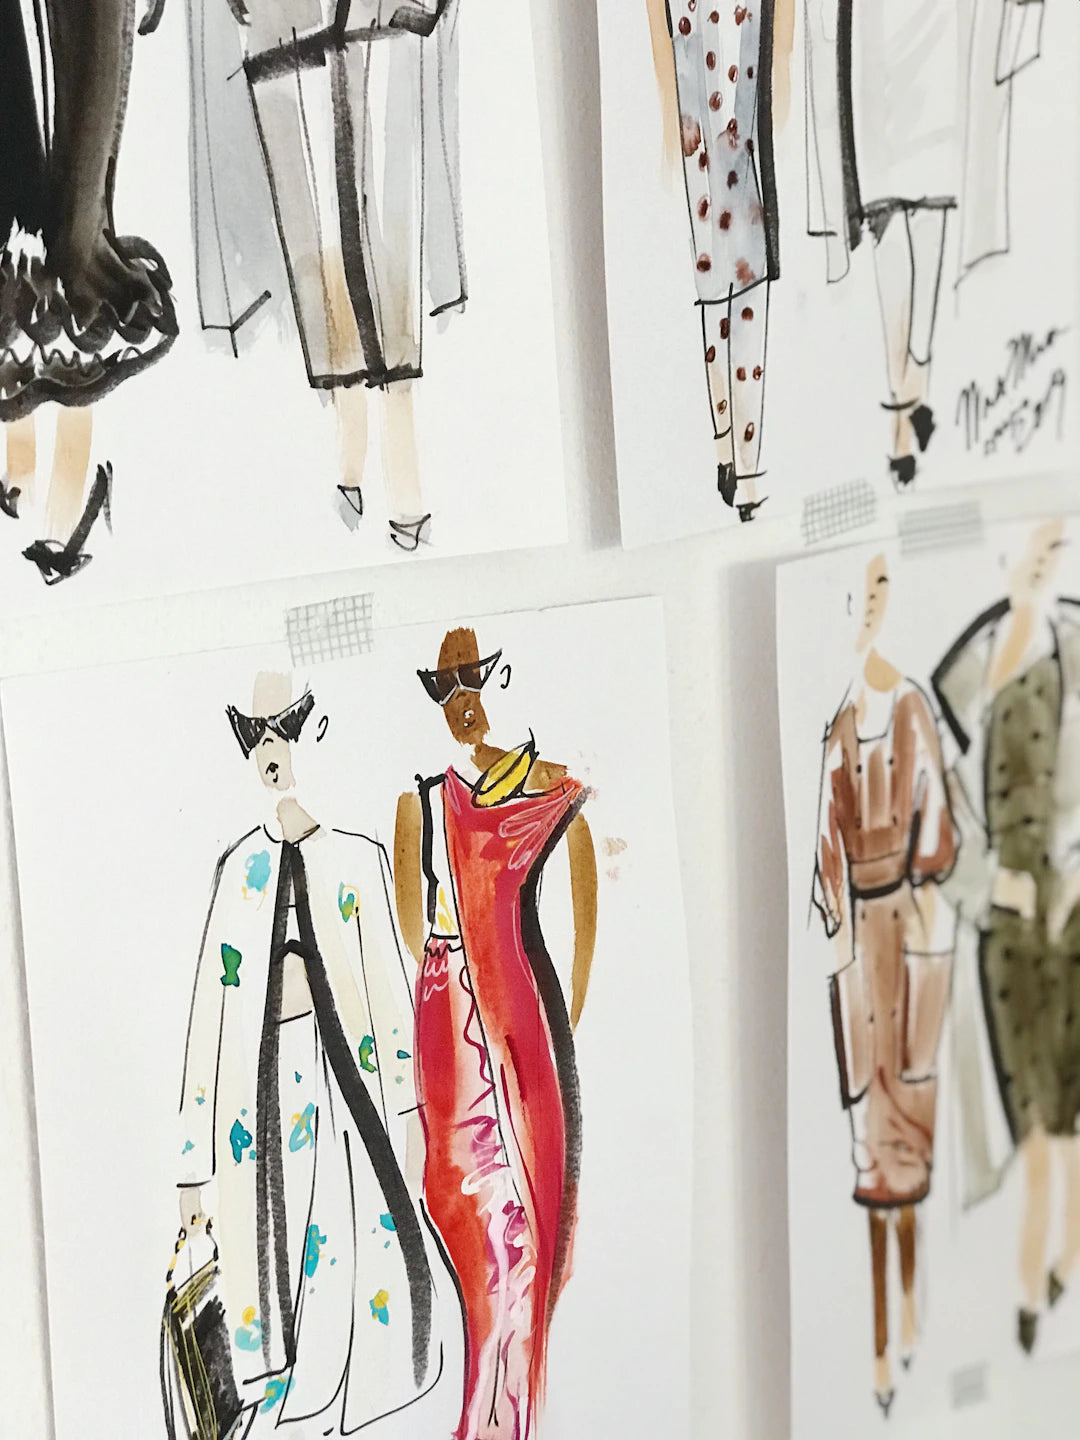
Layering techniques are particularly beneficial in fashion illustration. By separating garments, textures, and backgrounds into different layers, you can easily make adjustments as needed. Let's explore specific layering techniques to improve your fashion sketches.
Basic Layering for Sketches
Start your illustration by sketching your base silhouette on a separate layer. This helps you focus on the overall shape without getting bogged down by details. Once you have your base sketch, create additional layers for:
- Clothing Details: Create individual layers for different clothing items such as dresses, jackets, and accessories.
- Textures: Use separate layers for fabric textures, patterns, and colors to enhance the clothing’s visual appeal.
- Shadows and Highlights: Shadow and highlight layers can add depth and dimension to your illustrations.
Utilizing Group Layers
For complex designs involving multiple garments, utilizing group layers is highly beneficial. This allows you to manage entire outfits collectively. To create a clean workspace within Procreate, simply group layers by pinching them together. This way, you can handle several elements as a single unit, which streamlines your workflow, especially during revisions.
Real-World Use Cases of Layering Techniques
Layering techniques can be applied in various real-world scenarios to boost your productivity and sketch quality:
Fashion Illustration for Client Presentations
When working on client projects, presenting clear, professional concepts is vital. By mastering layering, you can easily adjust elements like color schemes or garment styles to cater to client feedback without starting over. This technique not only saves time but also enhances your creative process. Procreate’s ability to duplicate layers means you can keep iterations and variations for review.
Creating Textured Fabrics with Fashion Illustration Brushes
Using fashion illustration brushes is a fantastic way to bring textiles to life in your digital designs. For instance, when illustrating a silk garment, create a layer specifically for adding texture; then, apply your chosen brush strokes to give the garment a realistic look. Experiment with different brushes to find what mimics real fabrics best.
Tips to Enhance Your Layer Efficiency
Beyond just knowing how to use layers, improving how you work with them can drastically impact your productivity. Here are some handy tips:
- Label Your Layers: Always rename your layers to keep track of various elements in your illustration.
- Color Code Layers: Use the color coding feature to visually distinguish between categories such as sketches, colors, and backgrounds.
- Regularly Merge Layers: Once you're confident in a section, merging layers can reduce clutter while still allowing you to maintain editability.
Mastering Advanced Layer Techniques
Once you’ve grasped the basics of layering, it’s time to dive into advanced techniques that can set your fashion illustrations apart.
Using Adjustment Layers
Adjustment layers are essential for refining your color palettes. Instead of working directly on your design layers, create adjustment layers to change colors, contrasts, or saturation. This non-destructive method allows for experimentation without any permanent effect on your main layers.
Clip Layer Technique
Clipping masks are a game-changer for adding textures and details. By clipping a texture layer to a solid color or pattern layer, you can ensure that the texture only affects that layer, allowing for clean designs without the need for multiple layers. This technique is particularly useful in fashion design, where textiles often require intricate detailing to replicate realistic effects.
Incorporating Layer Modes for Extra Flair
Understanding layer modes can enhance your illustrations dramatically by altering how layers interact. Here are a few modes you can experiment with:
- Multiply: Great for shadows; this mode darkens your artwork while allowing underlying colors to show through.
- Screen: Perfect for highlights; it lightens the colors in the underlying layers and is ideal for adding shine to fabrics.
- Overlay: A blend of both multiply and screen effects, creating a vibrant look that adds depth and contrast.
Recommended Tools and Features
To truly master layering in Procreate, consider these tools and features:
- Procreate’s Selection Tool: Use this tool for isolating specific areas of your design, allowing you to edit layers more precisely.
- QuickLine & QuickShape: For cleaner outlines and shapes, these features can help create professional-looking garments.
- Opacity Slider: A key tool for adjusting layer transparency, crucial for managing shadows and highlights effectively.
Elevating Your Fashion Illustration Skills
As you experiment with layering techniques in Procreate, don’t forget to continually refine your skills through practice. Engaging in a professional fashion design class can provide invaluable experience, helping you apply these techniques in a structured environment while learning from experts in the field.
Infinite possibilities await as you explore the various delights of layering in your illustrations. While each layer adds complexity, it also contributes to a stunning final piece of art. Embrace the learning process, don’t fear mistakes, and motivate yourself to discover your unique style.
Final Flourishes on Your Creative Journey
Mastering layering techniques in Procreate not only enhances your fashion designs but also hones your artistic voice. Each brush stroke, each layer adjustment, contributes to a narrative that communicates your vision. Remember, the world of digital art is yours to explore, and with these techniques, your potential is limitless. So get out there and create beautifully layered pieces that reflect your artistry!
Linked Product

Fashion Procreate Masterclass
The Fashion Procreate Masterclass offers a comprehensive 4-hour video course designed to enhance your digital fashion illustration skills. With step-by-step lessons and an included Pro Kit, this masterclass is ideal for both beginners and those looking to refine their layering techniques in Procreate. Unlock the potential of your sketches by mastering essential tools and methods that can elevate your artwork.
View Product


Leave a comment
This site is protected by hCaptcha and the hCaptcha Privacy Policy and Terms of Service apply.