

Overview
Learn how to create stunning clothing textures in Procreate with a step-by-step guide that includes understanding textures, setting up your tools, and practical tips to enhance your digital fashion illustrations. Discover the importance of textures, the tools needed, and techniques for improving your sketch quality and productivity. Unleash your creativity and elevate your fashion designs!
Frequently Asked Questions
1. What is the significance of textures in fashion illustration?
2. What tools do I need to create clothing textures in Procreate?
3. What is the step-by-step process for designing clothing textures in Procreate?
4. How can I improve my sketch quality and productivity in Procreate?
5. What are some practical uses for well-designed clothing textures?
Welcome to your ultimate guide on creating stunning clothing textures in Procreate! Whether you're a beginner or a seasoned digital artist, mastering clothing textures will elevate your fashion illustrations to new heights. In this blog post, we'll take you through a comprehensive step-by-step process to design beautiful and realistic textures that will make your sketches stand out. With our friendly tone and motivational tips, you’ll be inspired to unleash your creativity. Let’s dive in!
Understanding Textures in Fashion Illustration
Before we jump into the nitty-gritty of Procreate, it's essential to understand what clothing textures are and why they matter. Textures add depth, dimension, and realism to your illustrations. They can evoke emotions and tell stories just by how they look. Think about the difference between a smooth satin and a rough denim—each texture communicates a unique style and feeling.
The Importance of Textures
- Visual Appeal: Textures make illustrations more engaging and visually striking.
- Realism: Properly rendered textures can fool the eye, making the illustration feel lifelike.
- Artistic Expression: Different textures can reflect mood, character, and theme in your designs.
Tools and Setup for Creating Textures in Procreate
To start designing clothing textures in Procreate, you'll need to set up your workspace and gather the right tools to bring your artistic vision to life. Here's what you need:
Procreate App
First things first, make sure you have the Procreate app installed on your iPad. If you're serious about digital art, this app is a game-changer and provides all the tools you need for fashion illustration.
Brushes and Textures
Next, customizing your brushes plays a significant role in texture creation. Consider downloading some high-quality texture brushes specific for fabric. Many creators sell Procreate brush sets that simulate various clothing textures such as knit, silk, and cotton. You can also create your own brushes by importing images of textures or by adjusting existing ones in Procreate.
Color Palette
Choose a color palette that aligns with your design vision. Procreate allows you to create color swatches or import palettes, making it easier to keep your colors consistent as you work on your illustrations.
A Step-by-Step Process to Design Clothing Textures
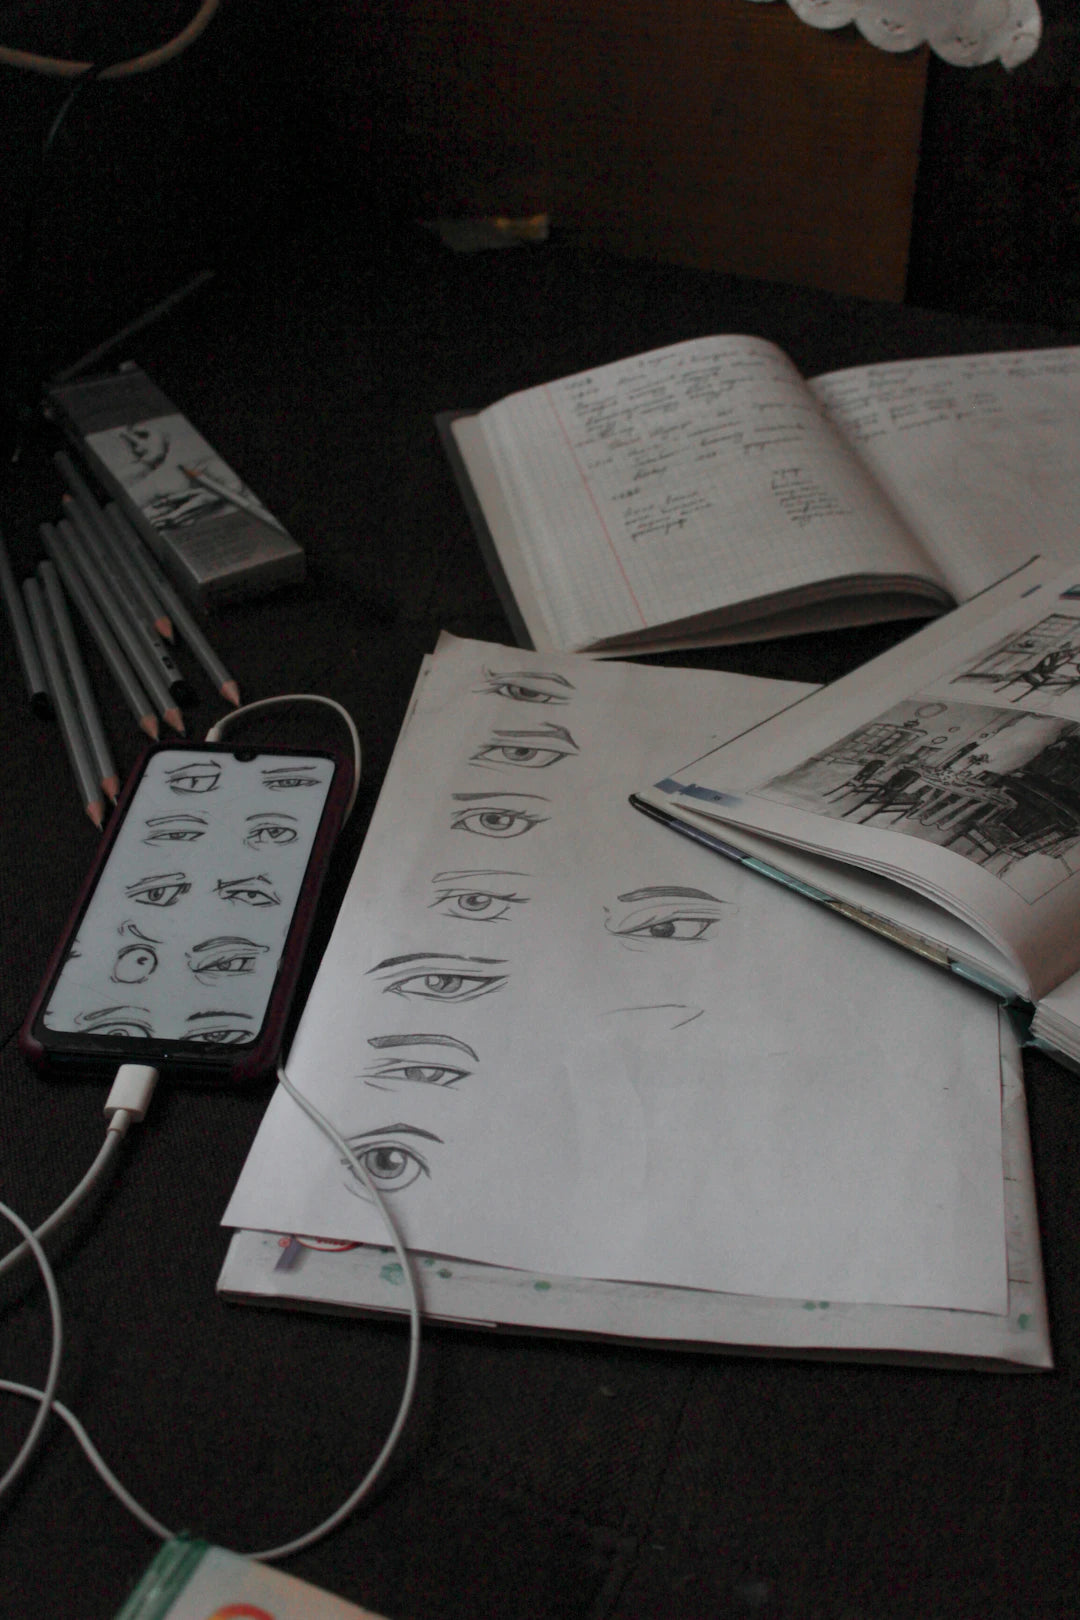
Step 1: Start with a Basic Sketch
Using Procreate’s various sketch tools, develop a rough sketch of your clothing design. Use a light pencil brush to outline the basic shapes of your garment. Keep in mind proportions and how the fabric will drape on the body. You can add details like seams and pleats for a more refined look as the sketch develops.
Step 2: Layer Your Work
One of the fantastic features of Procreate is the ability to work with layers. Create distinct layers for different elements of your illustration. For instance, use one layer for the base color of the garment, another for shadows, and a separate one for textures. This method allows you to adjust each component without affecting the others.
Step 3: Add Base Colors
Select the base color for your garment using the color palette you’ve created. Fill in the base of your clothing sketch with the desired color. Use a flat brush to maintain an even appearance. Keep in mind that the fabric's color will affect how textures appear later on, so choose wisely!
Step 4: Incorporate Textures
Now comes the fun part—adding textures! Choose your texture brush and begin applying it to the designated layer. Pay attention to how the fabric moves with the form of the garment. For heavier fabrics like denim, you might want to apply the texture more heavily. For lightweight fabrics like chiffon, a lighter touch will do.
Step 5: Use Procreate Sketch Hacks for Realism
To enhance the realism of your textures, utilize Procreate sketch hacks such as:
- Opacity Adjustments: Adjust the layer's opacity to blend textures better with the base colors.
- Layer Modes: Experiment with different layer modes like ‘Multiply’ for shadows and ‘Overlay’ for highlights to add depth to your textures.
- Blur Tools: Use the Gaussian Blur tool sparingly to soften edges and create smooth transitions between textures.
Step 6: Adding Details and Finishing Touches
Details are crucial in achieving a polished look. Add highlights and shadows to create depth in your textile illustrations. You can also include additional elements like stitching and seams using fine brushes for a more lifelike appearance. Always zoom in to ensure that these details enhance your artwork without overwhelming the overall design.
Step 7: Final Review and Adjustments
Once you feel satisfied with your sketch, step back and evaluate the entire piece. Make adjustments to colors, textures, and details as needed. Don't hesitate to play around until you achieve the desired look. Remember, your artwork reflects your unique style!
Use Cases for Clothing Textures in Fashion Illustration
The applications of well-designed clothing textures extend beyond mere aesthetics. Here are a few practical use cases:
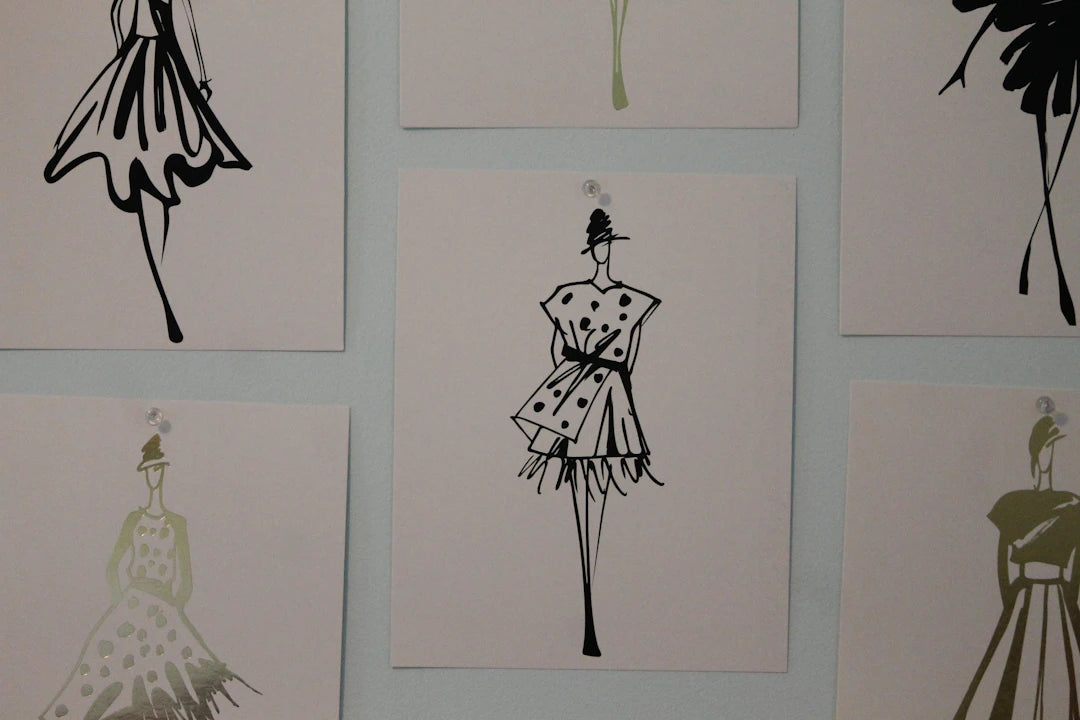
Fashion Design Proposals
When working on fashion design proposals for clients or competitions, realistic textures can make your illustrations more persuasive and impactful. A drawing that includes textures conveys professionalism and understanding of fabric properties.
Brand Identity Creation
For fashion brands, having a consistent texture style can help establish a unique brand identity. By leveraging various textures in your illustrations, you create a signature look that clients and customers can recognize and resonate with.
Fashion Marketing and Advertising
Textures play a vital role in marketing materials. Whether on social media, websites, or print ads, vibrant and textured illustrations can draw attention and generate engagement from potential customers.
Tips to Improve Your Sketch Quality and Productivity in Procreate
Improving your sketching quality and productivity in Procreate is essential for any aspiring digital artist. Here are some friendly tips that can help you make the most out of your digital illustrations:
Practice Regularly
Consistency is key in honing your skills. Set aside time each day to draw, even if it’s just for a short session. Regular practice can make a world of difference in your art quality.
Utilize Procreate’s Features
Make the most of Procreate’s features, such as QuickShape for perfect shapes and the selection tool for editing specific areas without affecting the whole piece. Familiarizing yourself with these tools can expedite your workflow.
Join a Digital Fashion Illustration Course
If you’re looking to further develop your skills and knowledge, consider enrolling in a Digital Fashion Illustration Course. Such courses often provide valuable insights, offer constructive feedback, and help you connect with like-minded artists.
Learn from Others
Lastly, never underestimate the value of learning from others’ work. Follow your favorite digital artists on social media and observe their techniques. Engaging with the community can spark inspiration and enhance your own style.
Unleash Your Creativity!
Designing clothing textures in Procreate is a rewarding journey that can significantly enhance your fashion illustrations. Remember that each sketch is a step toward mastering your craft. Don't be afraid to experiment with different brushes, colors, and techniques. As you dive into this world of digital fashion illustration, keep the motivation high and let your creativity flow! The only limit is your imagination. Happy sketching!
Linked Product

Fashion Procreate Masterclass
The Fashion Procreate Masterclass offers a comprehensive four-hour digital course designed to enhance your fashion illustration skills using Procreate. Participants receive step-by-step video lessons that cover essential techniques, along with an exclusive Pro Kit to support their creative process. This masterclass is ideal for both beginners and experienced illustrators looking to refine their craft.
View Product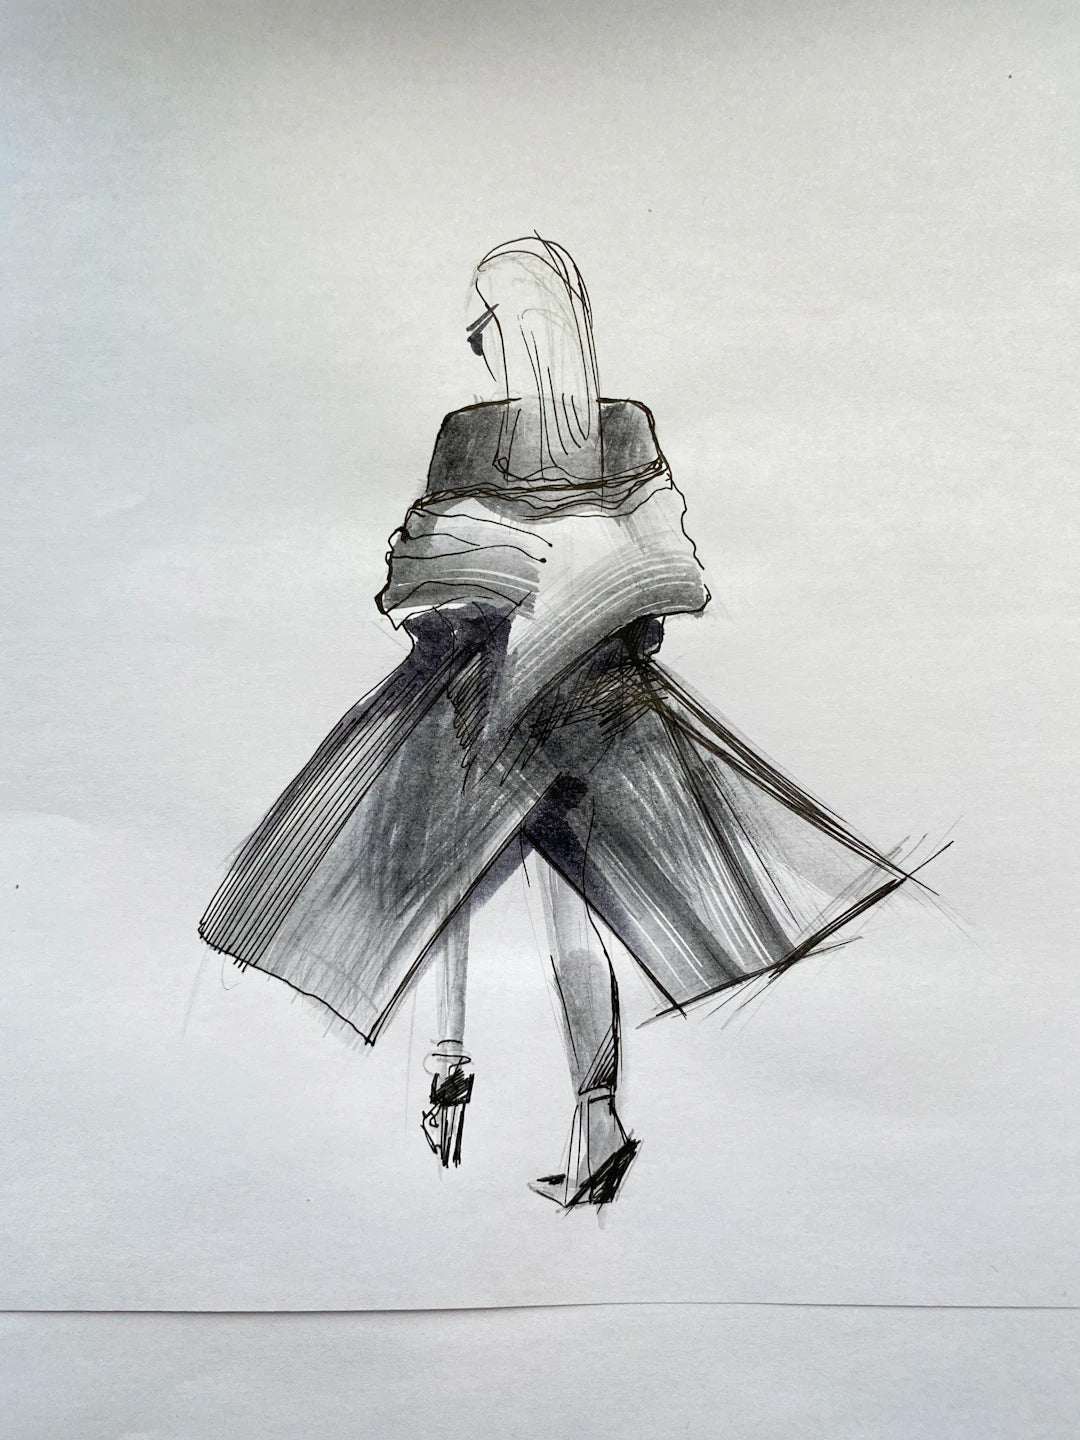
Leave a comment
This site is protected by hCaptcha and the hCaptcha Privacy Policy and Terms of Service apply.