Overview
Learn how to create custom brushes in Procreate to enhance your fashion illustrations. This guide covers the basics of Procreate brushes, types to consider, tool recommendations, a step-by-step creation process, real-world applications, and tips for improving sketch quality. Embrace your digital creativity and elevate your art with personalized tools.
Frequently Asked Questions
1. What is the importance of creating custom brushes in Procreate?
2. What are the basic components of a Procreate brush?
3. What tools do I need to create custom brushes in Procreate?
4. How can custom brushes enhance fashion design illustrations?
5. What tips can improve my sketch quality while using Procreate?
Creating your own custom brushes in Procreate is an exhilarating part of digital artistry, especially for fashion design enthusiasts looking to elevate their sketches and illustrations. In this blog, we will explore the steps to develop unique Procreate brushes that can infuse your artwork with personal style and flair. Whether you're a fashion design student or a creative artist, understanding how to craft your brushes can be a game-changer in your digital art journey.
Understanding the Basics of Procreate Brushes
Before diving into the creation process, it's essential to grasp what makes Procreate brushes unique. A brush in Procreate is not just a tool; it's a dynamic component that interacts with the canvas to mimic various textures, types of strokes, and even atmospheric effects. The brushes you create can significantly influence the outcome of your sketches, be it smooth lines for sleek fashion illustrations or textured strokes for fabric details.
Types of Brushes to Consider
- Pencil Brushes: Perfect for sketching initial ideas and outlines.
- Texture Brushes: Ideal for adding depth to fabric illustrations.
- Watercolor Brushes: Great for stylized effects and blending colors.
- Custom Pattern Brushes: Excellent for creating repeated design elements like prints or textures.
Getting Started: Tool Recommendations
Before you embark on brush creation, ensure that you have the right tools available. A reliable iPad along with the Procreate app is essential. Additionally, a compatible stylus, like the Apple Pencil, provides the precision needed for creating intricate designs. Here are a few recommendations that will enhance your experience:
- iPad Pro: For a larger canvas that showcases your creations without limitations.
- Apple Pencil: It’s pressure-sensitive, providing a true drawing experience, mimicking traditional art tools.
- Stylus with Tilt Functionality: This can give you more dynamics while shading and drawing.
Step-by-Step Guide to Create Custom Brushes
1. Define Your Purpose
Before starting, identify what type of brush you want to create and how it will fit into your digital art projects. Are you looking for a brush that mimics charcoal for drawing dramatic fashion sketches, or perhaps a brush that gives a soft watercolor effect for mood boards? Decisions like these will guide your design choices.
2. Open Your Brush Studio
Launch Procreate and open the Brush Studio. Here, you can either create a new brush or duplicate an existing one to experiment with. Duplicating an existing brush can be a great way to understand the settings without starting from scratch.
3. Experiment with Shape and Grain
Your brush will have two primary components: the shape and the grain. The Shape determines the form of the brush stroke, while the Grain gives it texture. You might want to use a custom shape that emulates a certain fashion fabric or design element.
To add and adjust these settings:
- Import a shape for the brush head or start with a basic shape.
- You can control the spacing of the brush strokes under the "Stroke Path" section.
- Upload or create a texture under the "Grain" section to give your brush uniqueness.
4. Fine-Tune Settings
Adjust the settings that affect the brush's behavior. For example, you can tweak parameters such as opacity, flow, and jitter. These adjustments can establish how soft or bold your brush strokes will appear, which is crucial for creating fashion illustrations that stand out.
5. Test and Iterate
Once satisfied with your settings, test your brush on the canvas. Make multiples and see how it interacts with different colors and textures. It may take several iterations to perfect your design, and that’s completely normal! Use your brush on various sketches and designs to see how well it performs across projects.
Real Use Cases: Bring Your Fashion Sketches to Life
Creating custom Procreate brushes allows you to push the boundaries of your fashion sketches. Here, we’ll explore how you can incorporate these brushes into various design projects:
Fashion Design Illustrations
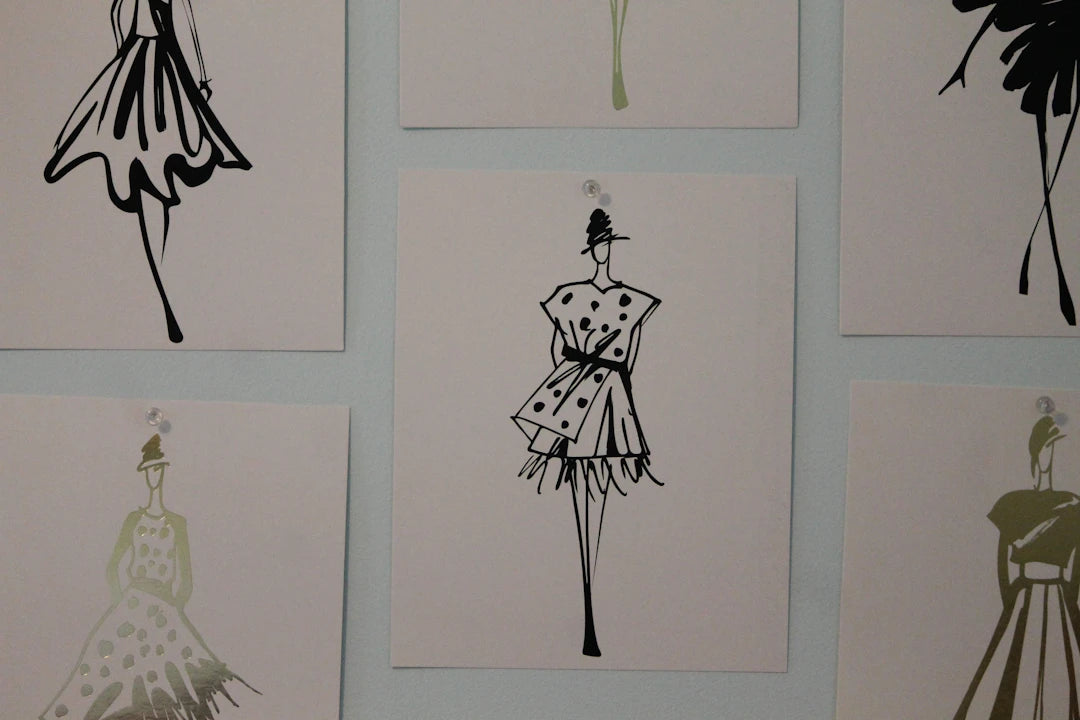
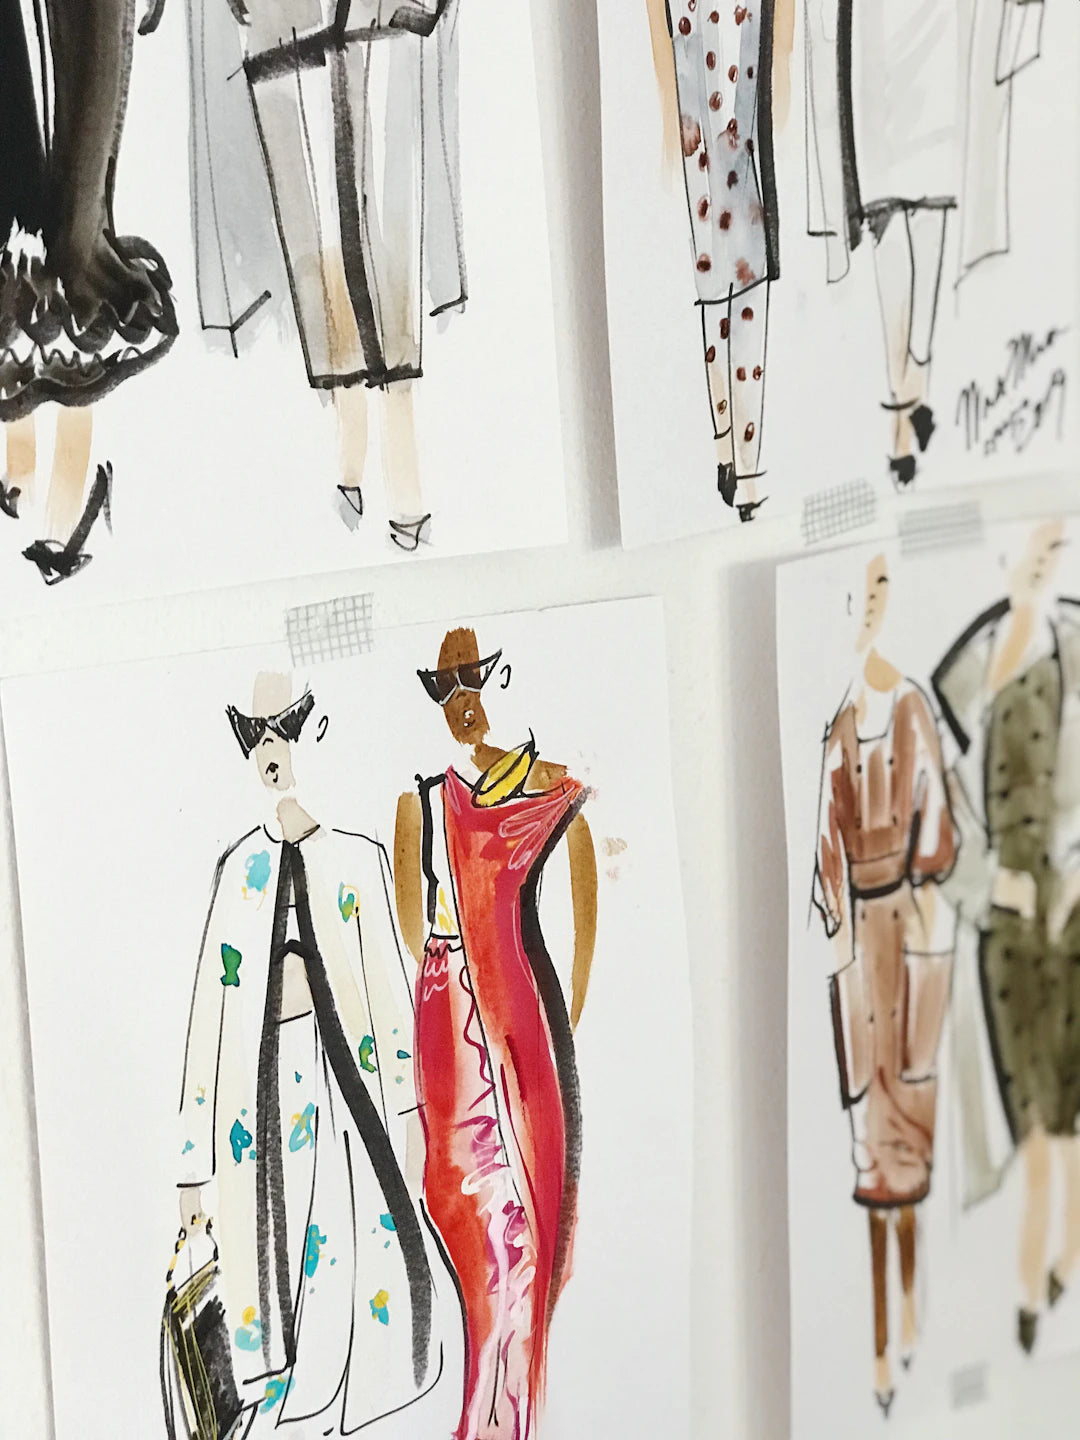
When illustrating a design concept, having a variety of brush textures can enhance the garments represented in your sketches. For example, a soft, transparent watercolor brush could be used for silk dresses, while a stiffer, textured brush could depict tweed or denim, allowing the viewer to appreciate the drape and texture of the fabrics.
Texture in Presentation Slides
If you’re a fashion design student creating a presentation, custom brushes can help enrich your visual material. Create textures that mimic the actual fabrics you plan to discuss, using them as backgrounds or detail elements in your slides, adding an authentic touch that enhances your audience's experience.
Digital Mood Boards
Mood boards are essential in the fashion industry as they help convey overall aesthetics. Using custom brushes to create unique backgrounds or framing elements can define the style of your board. It’s about merging practical elements with artistic flair. For instance, use your texture brush to apply mood colors to create an evocative visual landscape for your fashion inspiration.
Boost Your Productivity: Tips for Better Sketch Quality
Along with crafting custom brushes, improving your overall sketch quality and productivity in Procreate is essential. Here are some tips to help you along the way:
1. Set up Shortcuts
Familiarize yourself with keyboard shortcuts on your iPad. Using shortcuts can streamline your workflow significantly, allowing you to focus more on your creative output. Saving your favorite brush sets and organizing them into folders for quick access is an invaluable time-saver.
2. Experiment with Layering
Have multiple layers for different aspects of your sketch. Keeping your line art on one layer and color on another can simplify the editing process, allowing for more freedom to experiment without ruining the original artwork.
3. Take Advantage of Time-lapse Feature
Procreate has a fantastic time-lapse feature that can help you review your process. By observing your sketches over time, you can identify areas to improve and fine-tune your approach for future projects.
4. Utilize Reference Images
When sketching fashion designs, always use reference images. This practice allows you to study proportions, draping, and overall aesthetics. You can add them as an image layer in Procreate to trace over them for practice, using your brushes to capture the essence of the fabric textures.
Drawing Inspiration: Let Your Creativity Soar
Digital art inspiration is everywhere! Whether you’re scrolling through fashion magazines or browsing Pinterest, capturing inspiration is critical for developing your unique artistic voice. Follow designers, collections, or even movements that resonate with you and try to recreate some of their pieces using your custom brushes.
Consider joining online communities or taking a Fashion Procreate Masterclass where you can learn new techniques from experienced artists. These platforms not only provide in-depth knowledge but also support through peer feedback.
Additional Resources for Learning
- YouTube Tutorials: Many experienced artists share their brush creation processes and general Procreate tips.
- Online Courses: Platforms like Skillshare or Udemy have courses focused exclusively on using Procreate and managing digital art.
- Social Media: Use hashtags like #ProcreateBrushes and #FashionIllustration to discover new trends and tutorials.
Your Journey Awaits: Embrace Your Digital Creativity
Now that you have the tools, techniques, and inspiration at your fingertips, it's time to put your skills to the test! Creating your custom Procreate brushes can not only elevate the quality of your sketches but also help in defining your unique style as a fashion illustrator. Remember, the journey of becoming a proficient digital artist is paved with practice, exploration, and a never-ending thirst for inspiration.
So go ahead, experiment, and fuel your creative passion! Every brush stroke is an opportunity to express yourself and bring your fashion ideas to life. Harness the power of Procreate, and let your artistic journey flourish!
Linked Product

Fashion Procreate Masterclass
The Fashion Procreate Masterclass provides an in-depth, four-hour learning experience aimed at enhancing your digital fashion illustration skills. With step-by-step video lessons, this course guides you through the essential techniques of using Procreate, making it suitable for both beginners and those looking to refine their skills. Additionally, the inclusion of a Pro Kit offers valuable resources to help you create custom brushes and elevate your design projects.
View Product


Leave a comment
This site is protected by hCaptcha and the hCaptcha Privacy Policy and Terms of Service apply.