Overview
Learn how to transition from traditional to digital fashion illustrations using Procreate. This guide covers basics, step-by-step techniques, and tips to enhance your skills, along with success stories from students. Embrace digital tools to elevate your artistic journey in the fashion industry.
Frequently Asked Questions
1. What is the role of digital tools in fashion design?
2. Why should I consider using Procreate for fashion illustrations?
3. What are the basic steps to transition a traditional sketch to a digital illustration using Procreate?
4. How can taking a Fashion Illustration Masterclass help my skills?
5. What tips can improve my sketching skills in Procreate?
In the ever-evolving world of fashion design, digital tools have revolutionized the way artists bring their ideas to life. Whether you're a seasoned professional or a fashion design student, transforming traditional sketches into vibrant digital masterpieces using Procreate is a skill that can significantly enhance your portfolio. In this case study, we will explore how to make this transformation seamless and efficient, diving into essential fashion drawing techniques, productivity tips, and tool recommendations that will help you elevate your art.
The Shift from Traditional to Digital
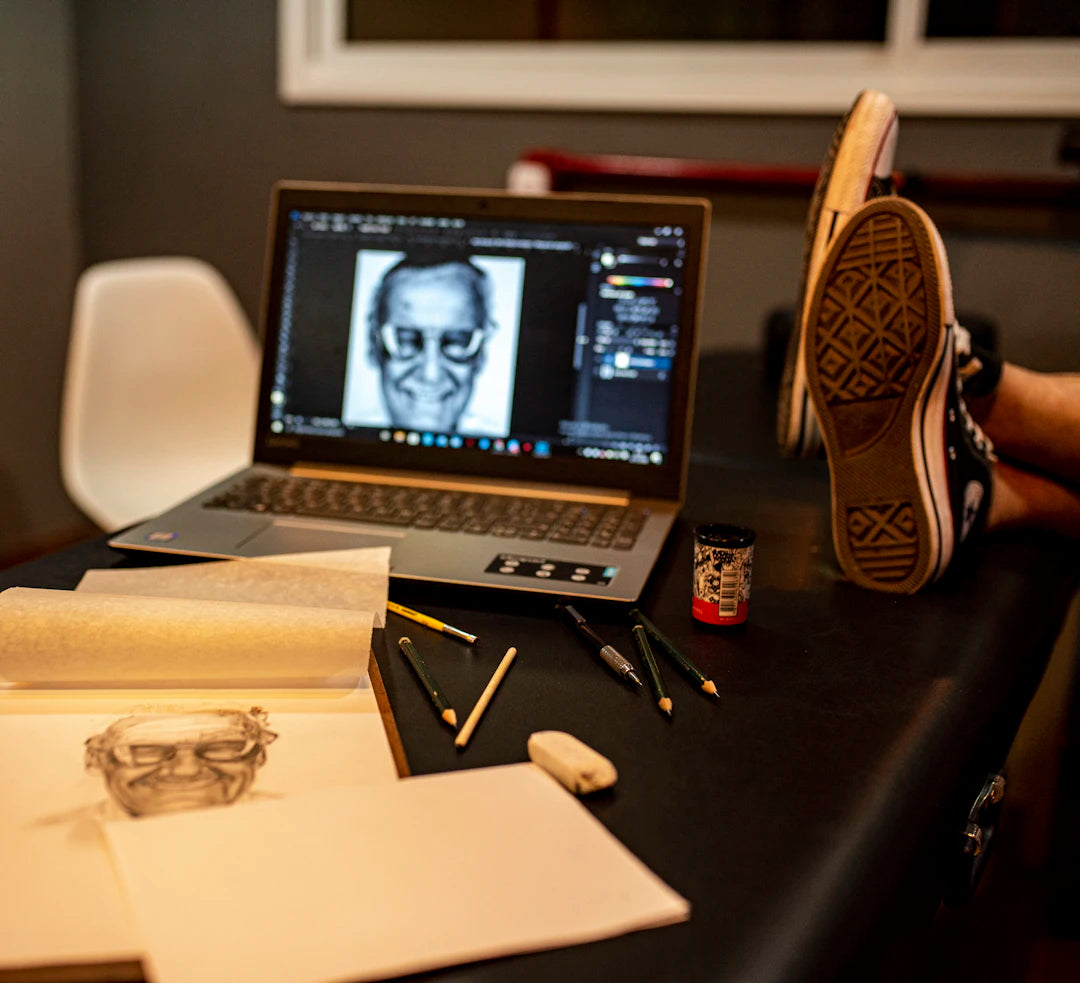
The transition from traditional sketching to digital illustration can seem daunting, but it opens up a world of possibilities. Procreate is a user-friendly application available on iPad that allows for unparalleled creativity and efficiency. Here are some compelling reasons to make the switch:
- Accessibility: Take your art anywhere with a mobile device.
- Ease of Editing: Easily make changes without starting over.
- Infinite Options: Explore a vast array of brushes, textures, and colors that surpass traditional mediums.
Understanding Procreate Basics
Before diving into how to transform your sketches, it's vital to grasp the basics of Procreate. Learning the interface and tools can save time and boost your creativity. Here's what you need to know:
Getting Started with Procreate
Your journey in Procreate begins with selecting a canvas size. For fashion illustrations, a standard size might be A4 (297mm x 210mm) or custom dimensions depending on your project needs. Procreate's high-resolution capabilities allow you to create detailed illustrations without losing quality.
Familiarize yourself with the toolbar at the top, where you'll find essential functions like brushes, colors, and layers. The use of layers will be crucial as it allows you to work on different aspects of your illustration without affecting others.
Basic Brush Techniques
Procreate offers an extensive library of brushes, each serving a different purpose. To start, try these three brush categories:
- Sketching Brushes: Use softer brushes for initial outlines.
- Inking Brushes: Switch to more precise brushes for final line work.
- Texture Brushes: Experiment with different textures for fabric representations.
From Sketch to Screen: A Step-by-Step Guide
Now that you have a grasp of Procreate basics, let’s walk through the process of transforming a traditional sketch into a digital fashion illustration.
Step 1: Scan Your Sketch
Begin by scanning your traditional sketch. Aim for a high-resolution scan to maintain detail. Save the file as a PNG or JPEG and import it into Procreate. This will serve as your base layer.
Step 2: Create Layers
In Procreate, create multiple layers for different components of your illustration. For example, use one layer for the outline, another for coloring, and yet another for textures or patterns. This organization will enhance your workflow.
Step 3: Outline the Sketch
Using an inking brush, start outlining your sketch on a new layer. Don't be afraid to adjust details and modify lines as needed for a cleaner finish. Remember that this is where you can express your unique style.
Step 4: Color Your Illustration
Select a color palette that reflects the mood of your design. Use the color picker to easily change colors within your illustration. Procreate allows you to fill areas quickly using the 'ColorDrop' feature, making it simple to achieve a polished look.
Step 5: Add Textures and Shadows
To create depth, incorporate shadows and highlights using different brushes. Experiment with textures for fabric representation. This can elevate your illustration significantly, making it more visually appealing.
Harnessing Fashion Illustration Masterclass Techniques
During your digital art journey, consider enrolling in a Fashion Illustration Masterclass. These classes provide a wealth of knowledge on advanced fashion drawing techniques. You can learn how to capture movement, anatomy, and the intricacies of different fabric types. Here’s how you can apply what you learn:
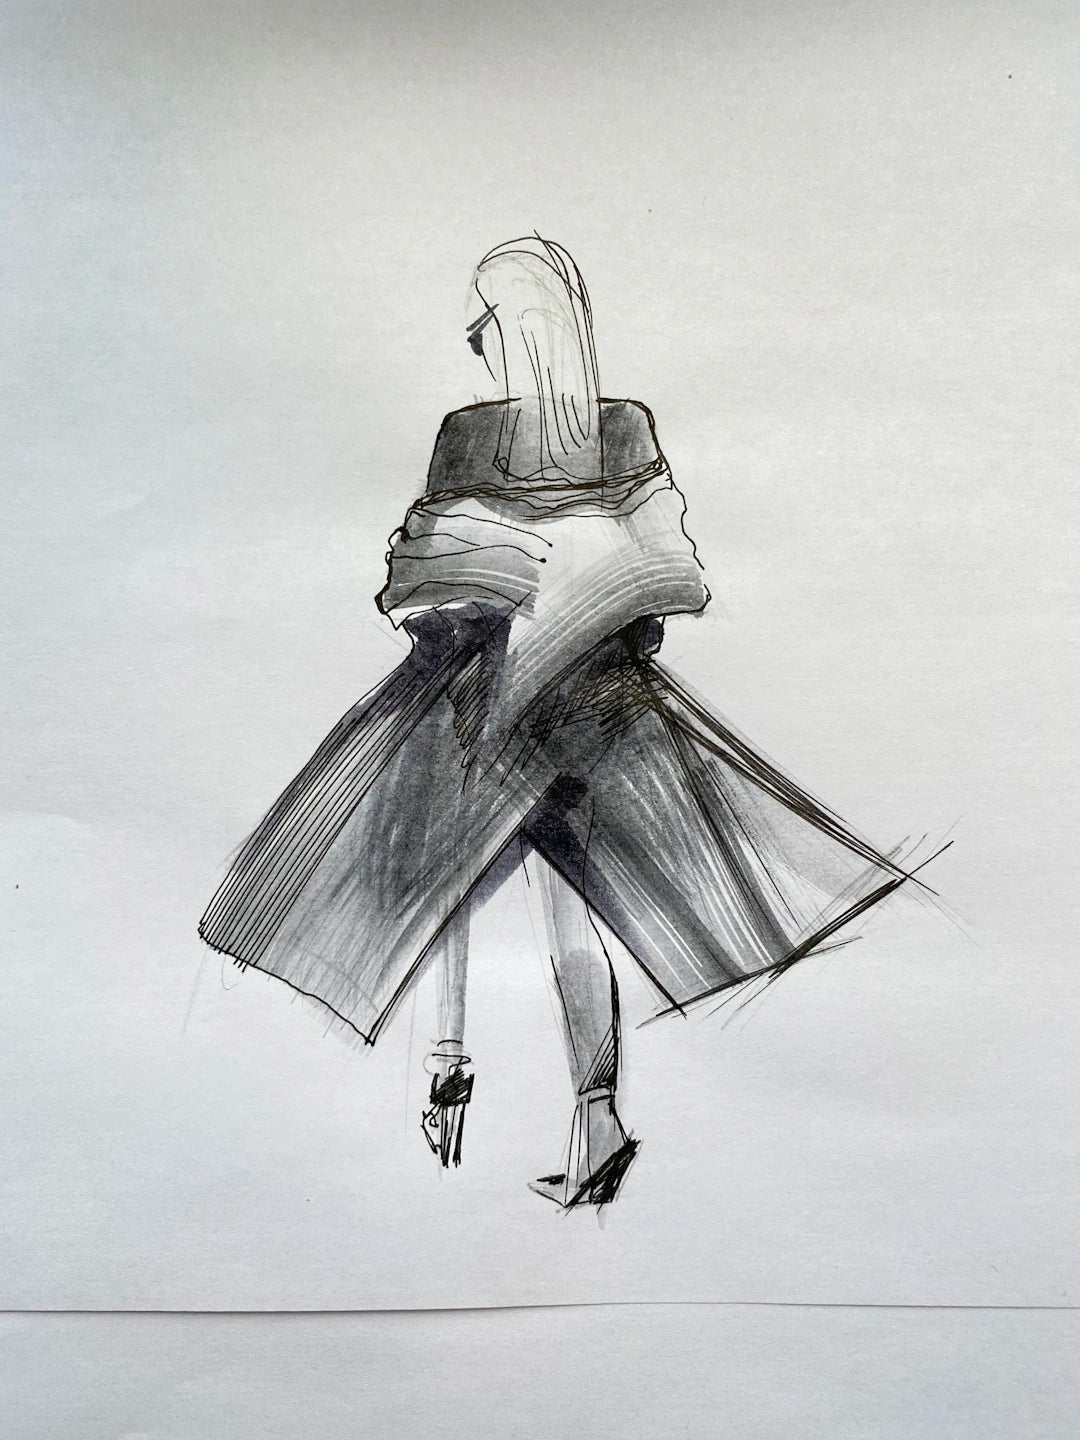
- Anatomy: Understanding body proportions is crucial—practice sketching the human figure to create more accurate designs.
- Fabric Simulation: Different fabrics have unique drapes and shapes. Study them to reproduce their effects accurately in your illustrations.
- Color Theory: Master color combinations to create harmonious palettes that resonate with fashion trends.
Enhancing Your Sketching Skills
Continuous practice is essential for improvement. Here are several tips to enhance your sketch quality and productivity in Procreate:
- Daily Sketching: Make it a habit to sketch every day. Set aside a few minutes to doodle, experiment, and play with new techniques.
- Limit Distractions: When working on your illustrations, create a focused environment to boost productivity.
- Use Reference Materials: Look at real-life clothing, patterns, and even photographs to inspire your sketches and add authenticity.
- Join Online Communities: Engage with fellow artists through forums or social media platforms. Sharing your progress can motivate you and offer valuable feedback.
Real Use Cases: Success Stories from Fashion Students
Many fashion design students have successfully turned their traditional sketches into stunning digital artworks using Procreate. Here are a few inspiring stories:
A Case Study of a Fashion Design Student
Mary, a recent graduate, used Procreate to transform her fashion collection sketches into digital formats for her portfolio. She started with simple outlines and gradually built her skills by exploring texture brushes for fabric effects. Her effort paid off when she received recognition for her detailed digital illustrations, helping her land an internship at a high-end fashion label.
Freelancer Success Story
James, a freelance illustrator, used Procreate's time-lapse feature to document his creative process. He shared this journey on social media, attracting a substantial following. This exposure led to collaborations with fashion brands, allowing him to showcase his skills on a larger platform.
Final Thoughts: Elevate Your Fashion Illustrations with Procreate!
Transforming traditional sketches to digital illustrations in Procreate is an exciting journey filled with opportunities for growth and creativity. By mastering the art of fashion drawing techniques and harnessing digital tools, you will set yourself apart in the fashion industry. Remember, every artist starts somewhere, so embrace your flaws, learn continuously, and enjoy the process. Celebrate your unique artistic voice as you bring your designs to life, and watch your skills flourish in this vibrant and dynamic field!
Linked Product

Fashion Procreate Masterclass
The Fashion Procreate Masterclass offers a comprehensive 4-hour digital course designed to enhance your fashion illustration skills using Procreate. This masterclass includes step-by-step video lessons that guide you through the essential techniques, making it suitable for both beginners and those looking to refine their skills. Additionally, the included Pro Kit provides valuable resources to support your creative journey, helping you transform traditional sketches into polished digital artwork.
View Product


Leave a comment
This site is protected by hCaptcha and the hCaptcha Privacy Policy and Terms of Service apply.