Frequently Asked Questions
1. What are layers in digital art?
2. How can layers enhance my fashion illustrations?
3. What are some basic techniques for managing layers?
4. What should I include when creating depth in my illustrations?
5. What tools can improve my productivity in Procreate?
Welcome, digital artists and fashion enthusiasts! In the exciting world of fashion illustration, the ability to create depth and dimension sets apart remarkable artwork from the ordinary. Layers are your best friends in this venture, and by mastering them in your illustrations, you can elevate your sketches to mesmerizing new heights. In this article, we’ll explore how to use layers effectively to create captivating depth in your illustrations, along with practical tips, tool recommendations, and inspiring examples. So, let’s dive in!
The Power of Layers in Digital Art
When creating fashion illustrations, understanding how to use layers can significantly enhance your work. Layers allow you to separate different elements of your designs, making it easier to manipulate, edit, and refine your artwork. Whether you're sketching drafting mannequins or incorporating intricate textile patterns, layers give you the freedom to experiment without fear of ruining the entire piece.
What are Layers?
In digital art applications like Procreate, layers act like transparent sheets stacked on top of each other. Each layer can contain different parts of your artwork, such as backgrounds, sketches, colors, and details. By isolating these elements, you can adjust them independently, making your creative process smoother.
Basic Layer Management Techniques
- Label Your Layers: Always name your layers based on their content (e.g., "Base Colors," "Shadows," "Highlights"). This helps in maintaining organization, especially when you have many layers.
- Group Layers: You can group related layers to keep your workspace tidy. For instance, group all layers related to a specific garment together.
- Utilize Layer Opacity: Adjusting the opacity of layers can create stunning transparency effects that contribute to depth.
- Clone Layers: Duplicating layers can help you make variations in designs and colors without starting from scratch.
Creating Depth with Layers
Now that we understand the fundamentals of layers, let's explore how to use them effectively to create depth in your illustrations.
Establishing a Solid Background
Start your illustration by creating a solid background layer. This could be a simple gradient or a textured paper background. Using a background layer not only sets the mood for your illustration but also creates a contrasting space for your other elements. For instance, when designing a fashion sketch of a dress on a drafting mannequin, a subtle backdrop can make colors pop and draw attention to your art.
Building the Structure with Drafting Mannequins
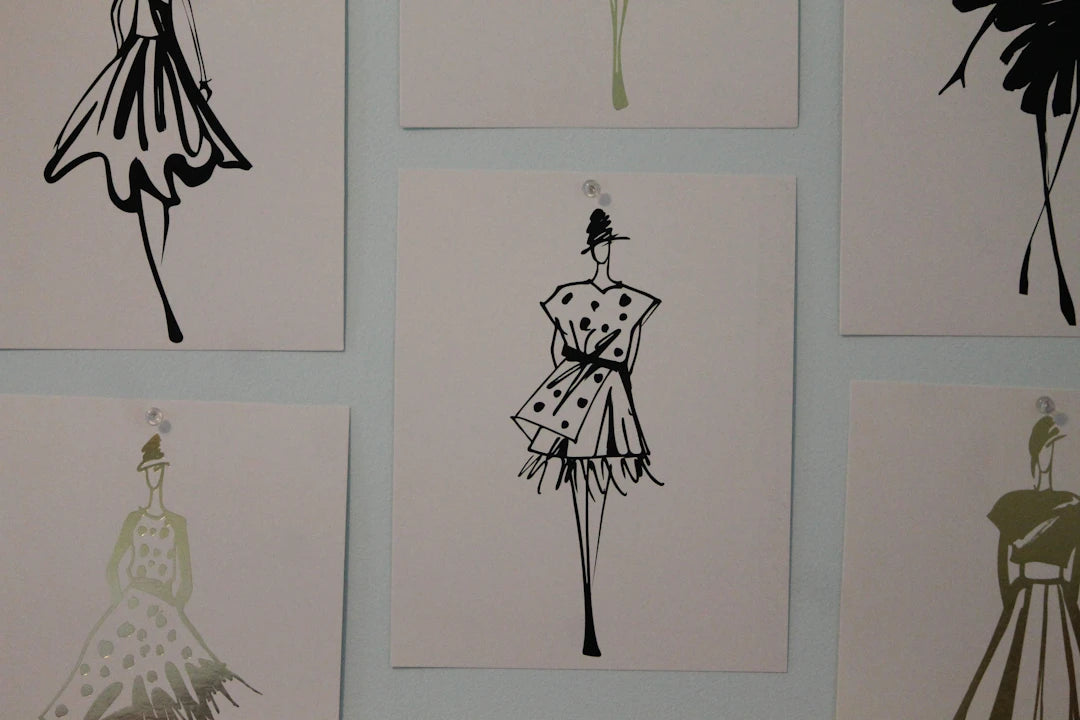
Using drafting mannequins as a base structure in your illustrations can greatly enhance proportion and pose accuracy. Create a separate layer for your mannequin sketch, adjusting the transparency to allow your base sketch to show through. This technique aids in getting the right anatomy and flow in your designs.
Adding Color Layers
Now that you have a solid structure, it’s time to add color. Here are some tips for managing your color layers effectively:
- Base Colors Layer: Start with a layer dedicated to the base colors of your garments. Use broad strokes with your fashion illustration brushes for a clean, even layer.
- Shadow Layer: Create a new layer for shadows, using a darker shade of the base color to add dimension.
- Highlight Layer: Similarly, have a layer for highlights. You can use lighter shades or even white for realistic lighting effects.
Textures and Details
Adding textures to your garments is essential for making illustrations feel more lifelike. Use fashion illustration brushes designed for Procreate to create fabric patterns and textures. To add depth:
- Dedicated Texture Layers: Create a separate layer for each type of texture, so adjustments are easier.
- Masking Techniques: Use clipping masks to apply textures only where needed without affecting the entire layer.
- Layer Styles: Experiment with different blend modes (like Multiply for shadows or Screen for highlights) to see how they interact with underlying layers.
Real Use Cases: Layering in Fashion Sketches
Let’s look at some practical applications of layering to create stunning fashion sketches.
Layering for Contrast
Imagine designing a vibrant evening gown. Here’s how layers can work:
- Begin with a base layer sketch of a drafting mannequin.
- Add a new layer for the gown's outline and fill it with a bold color.
- Overlay a semi-transparent layer of a pattern for the fabric design on top of the gown layer. Using brushes, you can add shimmering effects or floral designs that overlay seamlessly.
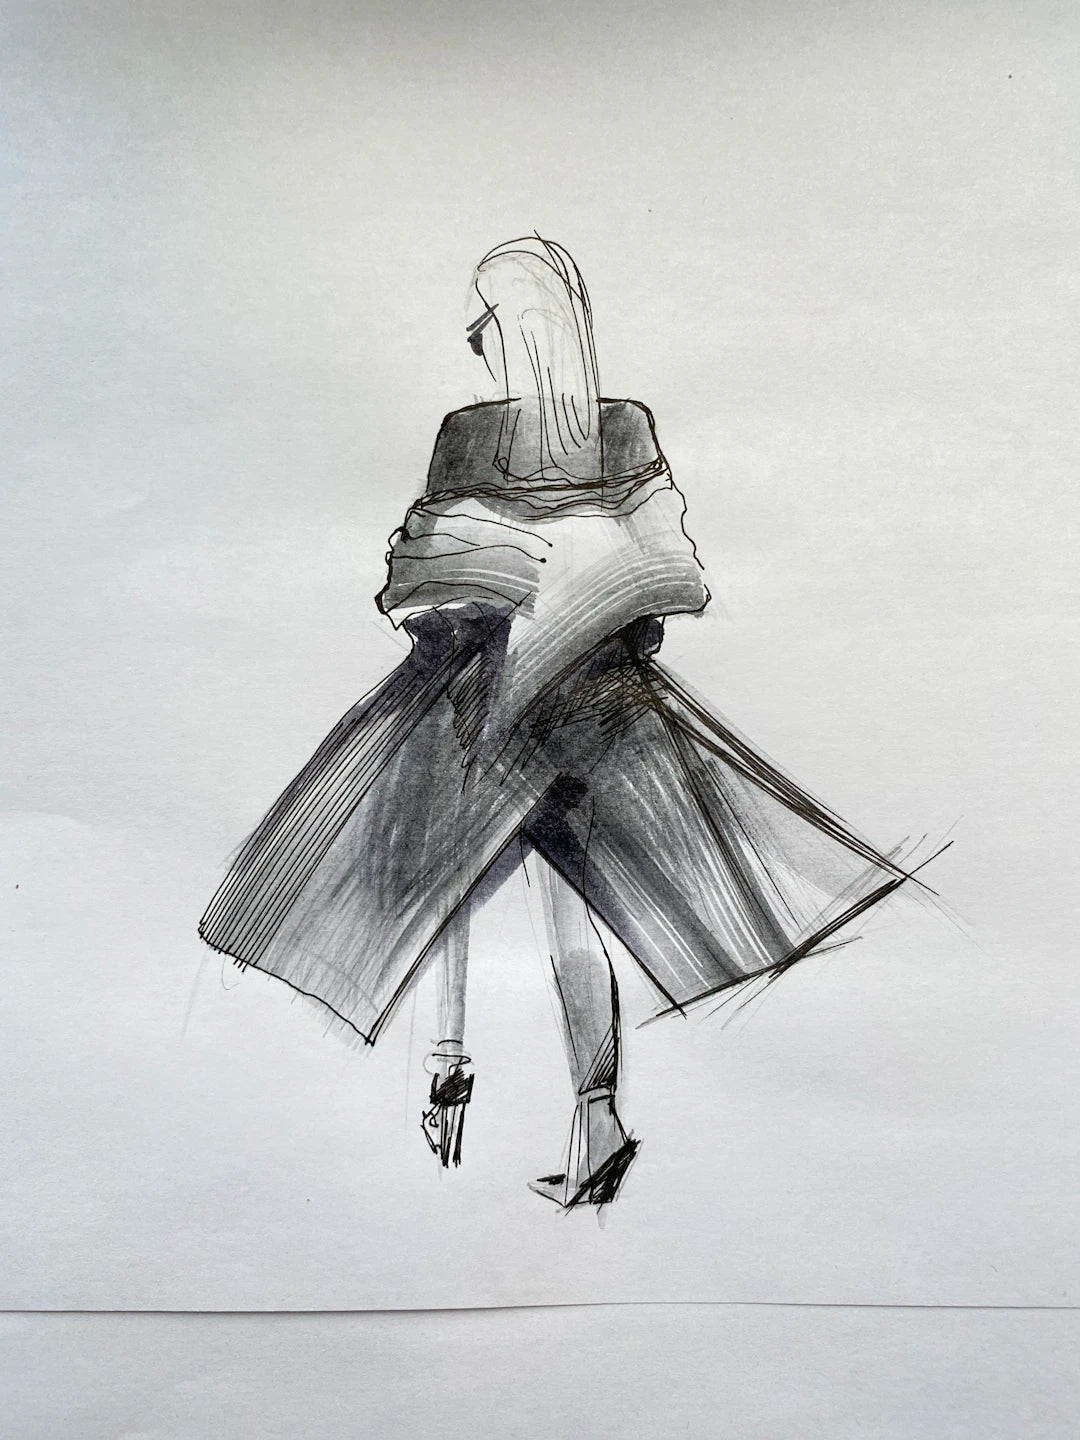
- Lastly, use your shadow and highlight layers to give the gown curvature and flow.
Creating Visual Hierarchy
Visual hierarchy is crucial in drawings to guide the viewer’s eye. If you’re illustrating a fashion collection, consider these steps:
- Use background layers to highlight specific pieces. For example, keep the background less saturated than the main elements.
- Add layering effects to accessories, such as placing them on separate layers for easy adjustment.
- Play with size differentiations; having larger layers in the foreground and smaller layers in the background enhances depth.
Productivity Tips in Procreate
Being efficient can boost your iterative design process significantly. Here are some tips to improve your sketch quality and productivity while using Procreate:
- Keyboard Shortcuts: Familiarize yourself with keyboard shortcuts for layer management. Quick access to these tools will significantly decrease your workflow time.
- Implement QuickMenu: Set up commonly used tools in Procreate's QuickMenu, allowing for rapid access to your favorite brushes and tools.
- Regularly Clean Up Your Layers: At the end of each session, review and clean up your layers, merging or deleting unused ones to avoid clutter.
- Explore Procreate’s Animation Features: Use layers for animated illustrations. This adds another dimension to your fashion sketches and creates engaging content.
Elevate Your Art: Final Thoughts
As you venture into the creative realm of fashion illustration, mastering the art of layering is essential for creating stunning, dimensional artwork. By strategically using layers, you can sketch your ideas with freedom, emphasizing details and enhancing the beauty of your designs. Remember, the journey of a digital artist is filled with experimentation and learning. With practice, tools like Procreate, and an understanding of how to layer effectively, you'll see continuous improvement in your skills and sketch quality. Dive in, keep sketching, and watch your illustrations flourish!


Leave a comment
This site is protected by hCaptcha and the hCaptcha Privacy Policy and Terms of Service apply.